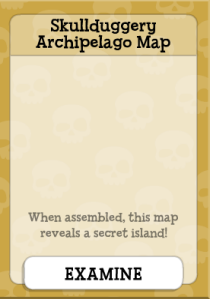
The Skullduggery Archipelago Map will reveal where the treasure is hidden. This is actually the first part of your mission in the Skullduggery Island. You need to complete all the lost pieces of the map.
How to get the Skullduggery Archipelago Map
There is one on each of the five trading islands around Fort Ridley.
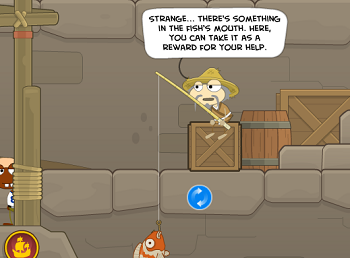
1. Dragon Cove – go to the water’s edge with the old fisherman. Sink the floating statue to uncover a Mallet. Slide the fisherman to the right, past the giant Bell Gong, to the first barrel. When you use the Mallet on the Gong, fish will jump from the water, allowing the old man to catch one, and he will give you the map piece.
2. Bouffant Bay – At the hanging plants, jump into the 3rd, then the 1st, then the 2nd plant to get the map piece.
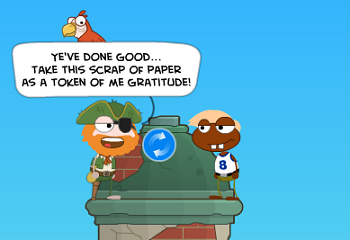
3. Parrot Port – There is a parrot flying around who leads you on a chase. First go to Petey’s Pirate Pub and get the Cracker from the upper left. Now the parrot will have you dive into the sea, block a smoking chimney, and find him at a palm tree at the far right. He tells you to contact his owner, a pirate atop the tower at far left. Once you have, you can use the Cracker to lure the parrot back to the tower, where you receive the map piece. (You may have to dunk yourself and block the chimney again to find the parrot.)
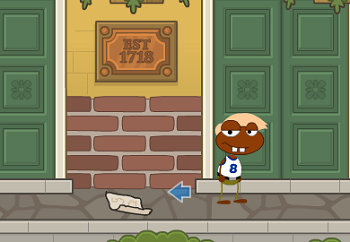
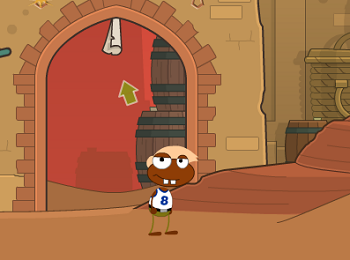
4. Golden Harbor – There are 5 hanging street lights, and after lighting any of them , lighting another will turn others off. Counting from the left, you need the 1st, 2nd, and 4th lights on. The way to accomplish this is to light the 4th, then the 2nd, then the 1st in that order. Leaving the dock and returning will reset the lights. The piece appears in a draped archway.
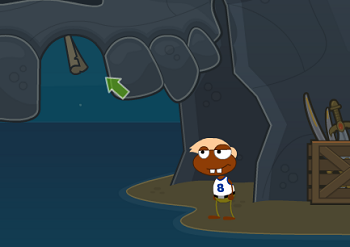
5. Pirate Outpost – Climb the giant skull cliff, jumping over the pirates to avoid being knocked back. At the top of the tall mast is a Cannon Starter kit to use on any of the 4 cannons, but only the one at lower left is important. On the way back down. push the small barrel of explosives from the mast into the water below. Position the barrel under the giant Golden Tooth of the stone skull. If you fire the cannon and hit the barrel, the blast shakes loose the Golden Tooth and reveals the map piece.
 Poptropica Cheats and Secrets Cheats, Walkthroughs and Secrets for Poptropica

